📄 Compress Image
Compress, resize, and convert images (JPG/PNG/WEBP) with quality control.
How to use
Last updated: 8 months ago
Step-by-Step Guide to Using the Compress Image
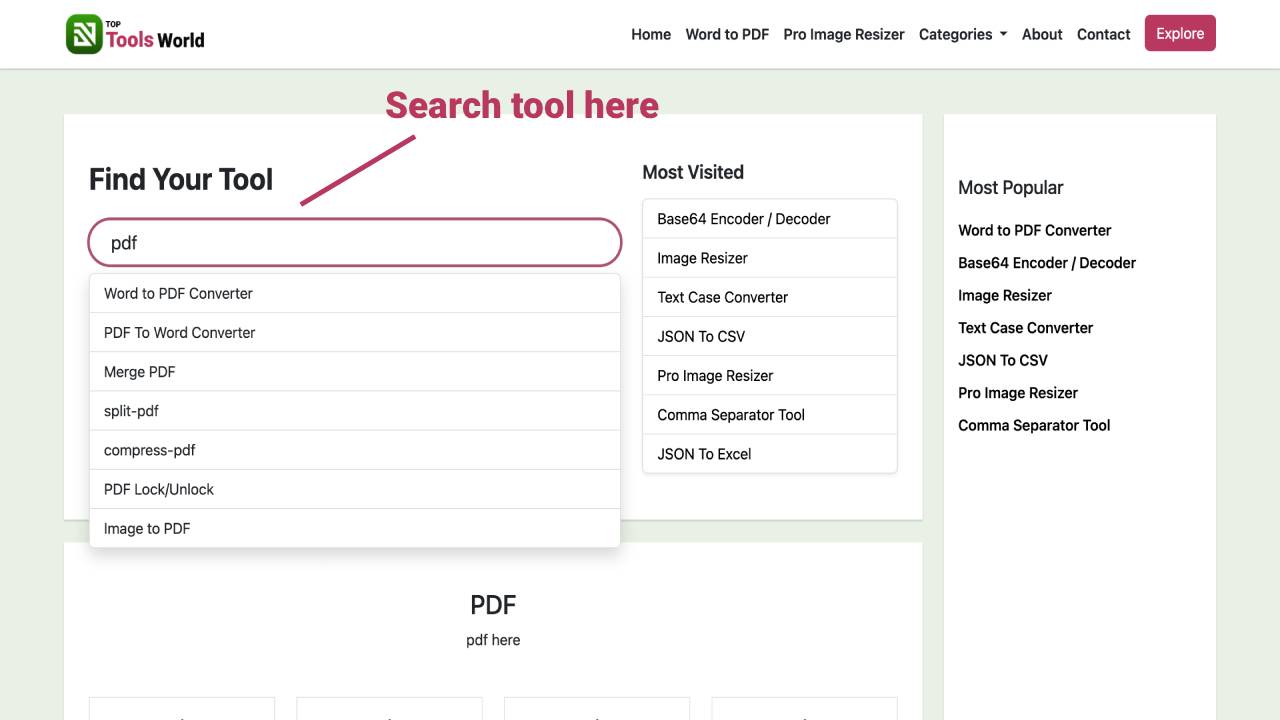
- Open the tool on Top Tools World and get your image ready. You can use photos, screenshots, or graphics in JPG, JPEG, PNG, or WEBP.
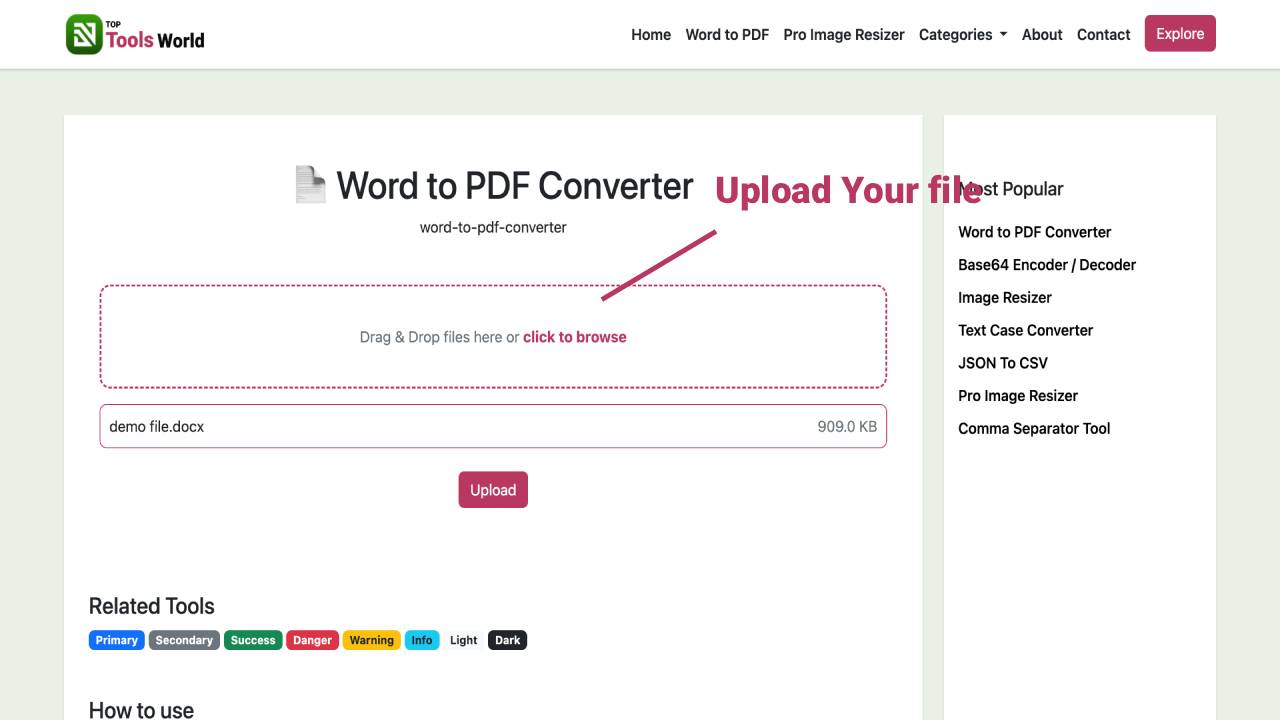
- Select your image from your device. Once added, you’re ready to optimize for web, email, or social media.
- Optionally set a new size. If you know the display dimensions you need (for example, a blog feature image or product photo), enter those to shrink pixel dimensions and save even more space.
- Choose your quality level. A moderate setting balances small file size with clean visual detail. You’ll keep the image sharp while removing unnecessary data.
- Pick an output format. JPG is great for photos, PNG for graphics or transparency, and WEBP for modern, high-efficiency results.
- Decide whether to remove metadata. Stripping EXIF/GPS can reduce size and improve privacy, especially for images captured on phones.
- Start the compression. The tool quickly processes your image so you can see results without delays.
- Review the optimized preview. You’ll see how much space you saved, the new file size, and whether resizing or metadata removal was applied.
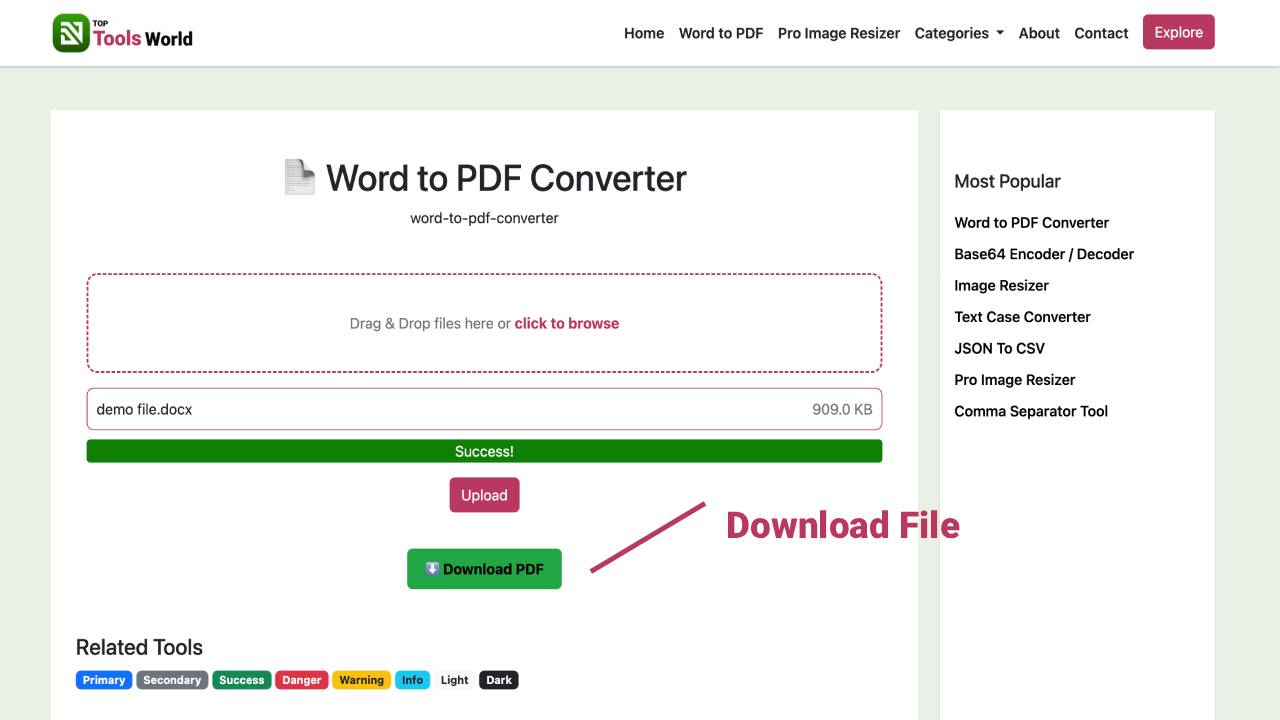
- Download your compressed image. Save it to your device and use it on your website, store, app, or email campaigns.
- Repeat for additional images. Follow the same quick flow to build a consistently optimized media library.
Key Benefits of Using Compress Image on Top Tools World
- Ease of use: Clear steps and smart defaults make optimization effortless.
- Accuracy: Compression that preserves details, colors, and clarity where it matters.
- Speed: Get optimized images in seconds, ready to publish or share.
- Reliability: Consistent results you can trust for product photos, blog images, and banners.
- Time-saving: One quick pass to resize, convert, and compress without juggling multiple tools.
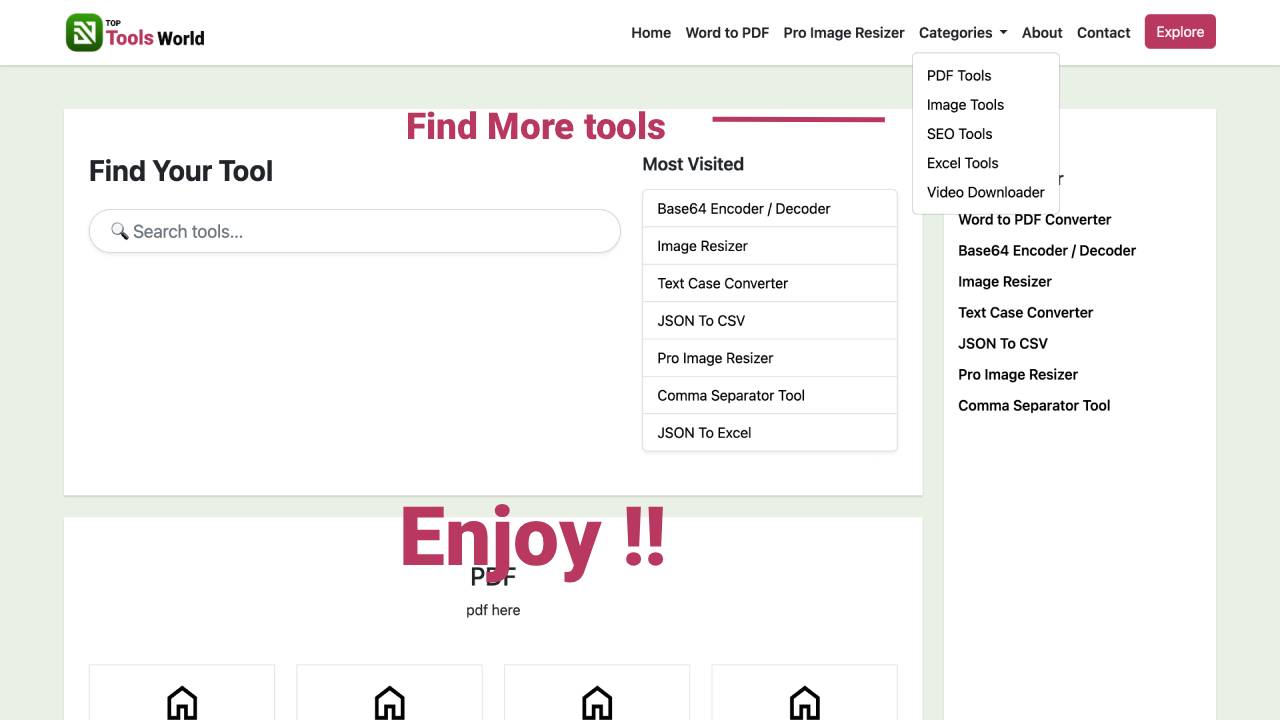
- Flexible scenarios: Perfect for ecommerce, portfolios, marketing emails, social posts, and CMS uploads.
- Better performance: Smaller images help web pages load faster and improve user experience.
- Simple language: No jargon—just practical guidance that helps you finish faster.
Why Choose Our Compress Image? (Unique Advantages)
Top Tools World is built for creators, marketers, and site owners who want professional results with zero friction. With multi-format support, adjustable quality, optional resizing, and one-click metadata removal, you get a complete image optimization workflow in one place. The interface is clean, focused, and tuned for fast decision-making, so you can compress images without guesswork.
Users prefer Top Tools World because it delivers a superior experience: quick previews, clear size savings, dependable output, and formats that fit real-world publishing needs. Whether you’re compressing a single hero image or preparing a product gallery, the tool is optimized for accuracy, performance, and repeatable outcomes. It’s a dependable part of your content pipeline—always ready when you are.
From bloggers to developers and store owners, people choose Top Tools World for its intuitive flow, high-quality results, and practical features that boost page speed and visual consistency, all while keeping your workflow simple.
What is a Compress Image? A Complete Overview
Compress Image reduces the file size of pictures while keeping them visually appealing. It does this by removing unnecessary data and optimizing how the image is stored. In practice, that means your photos and graphics look the same to your audience but load faster, take up less storage, and are easier to share.
Why does this matter? Large images slow down pages, increase bounce rates, and can hurt search visibility. By compressing images before you publish, you improve site speed, enhance user experience, and support better rankings. Faster pages also lead to higher conversions, especially on mobile.
Common problems this tool solves include oversized uploads from phones and cameras, heavy product photos that slow checkout pages, email attachments that exceed limits, and blog images that affect Core Web Vitals. With Top Tools World, you can cut megabytes down to kilobytes, maintain clarity, and publish confidently.
Example: A 3 MB hero photo can often be reduced to 300–500 KB at a balanced quality setting—still crisp, but dramatically faster to load. For graphics with transparency, PNG is ideal; for photos, JPG or WEBP frequently delivers the smallest size at high quality. Stripping metadata removes hidden details such as camera model or GPS, reducing size and improving privacy.
In short, Compress Image on Top Tools World helps you deliver beautiful visuals that load fast and perform well across blogs, stores, landing pages, and apps.
Advanced Tips & Best Practices
- Match format to content: Use JPG/WEBP for photos and gradients; use PNG for logos, icons, or graphics with transparency. WEBP often achieves the best balance of size and quality.
- Start with smart quality: For web photos, a quality range around 60–80 typically looks great. For detailed artwork or product shots, you might prefer 75–90.
- Resize to display width: If a page displays an image at 1200 px wide, don’t upload 4000 px. Downsizing reduces pixels and file size dramatically.
- Remove metadata for lean files: EXIF and GPS data are rarely needed on web images. Stripping them helps reduce size and protect privacy.
- Avoid upscaling: Enlarging small images won’t improve quality and can make them look soft. Keep original dimensions or resize downward.
- Keep an original backup: Preserve a full-resolution copy for future edits or higher-resolution needs.
- Test on multiple screens: Quickly preview on desktop and mobile to confirm sharpness and contrast at your chosen quality settings.
- Use consistent naming: Organized file names help with content management and SEO (for example, product-category-keyword.jpg).
- Optimize before uploading: Compress images with Top Tools World first to save bandwidth and speed up CMS workflows.
- Balance speed and fidelity: For hero sections and banners, lean toward higher quality; for thumbnails, choose stronger compression.
FAQs About the Compress Image
1) What quality setting should I use?
For most web photos, 60–80 is a solid starting point. Increase quality for detailed images; decrease for smaller thumbnails.
2) Will compression reduce visual quality?
Some compression is lossy, but at balanced settings the difference is barely noticeable. The goal is to keep images sharp while removing unnecessary data.
3) JPG vs PNG vs WEBP—what should I choose?
Use JPG or WEBP for photos and gradients. Use PNG for graphics, text overlays, or whenever you need transparency. WEBP often delivers the smallest size at high quality.
4) Should I remove metadata?
For most web use, yes. Metadata removal reduces size and protects privacy. If you need camera or location info, keep a separate original file.
5) Can I change image dimensions while compressing?
Yes. Resizing to your actual display width is one of the most effective ways to reduce file size without hurting perceived quality.
6) How much space can I save?
Savings vary by image and settings. Photos from phones and cameras often shrink by 50–90% with little visible difference.
7) Is Top Tools World suitable for ecommerce images?
Absolutely. Consistent dimensions, balanced quality, and WEBP support help product pages load faster and convert better.
8) Will this help with page speed and SEO?
Yes. Smaller images improve loading times and can support better Core Web Vitals, which benefits user experience and search performance.
Use Compress Image on Top Tools World to streamline your media workflow, speed up your site, and keep visuals crisp across devices. It’s a reliable, efficient way to prepare images for the modern web—without extra complexity.